Many people love herbs, not only for cooking but also for many other uses. However, I am aware that it can sometimes be tiring to have many plants in the house to take care of.
Well, guess what? You can grow many tasty herbs using nothing but water, and keep them going all year long.
Growing herbs in water is honestly one of the easiest gardening tricks I’ve found. I tried this method a few years ago and was immediately fascinated by it.
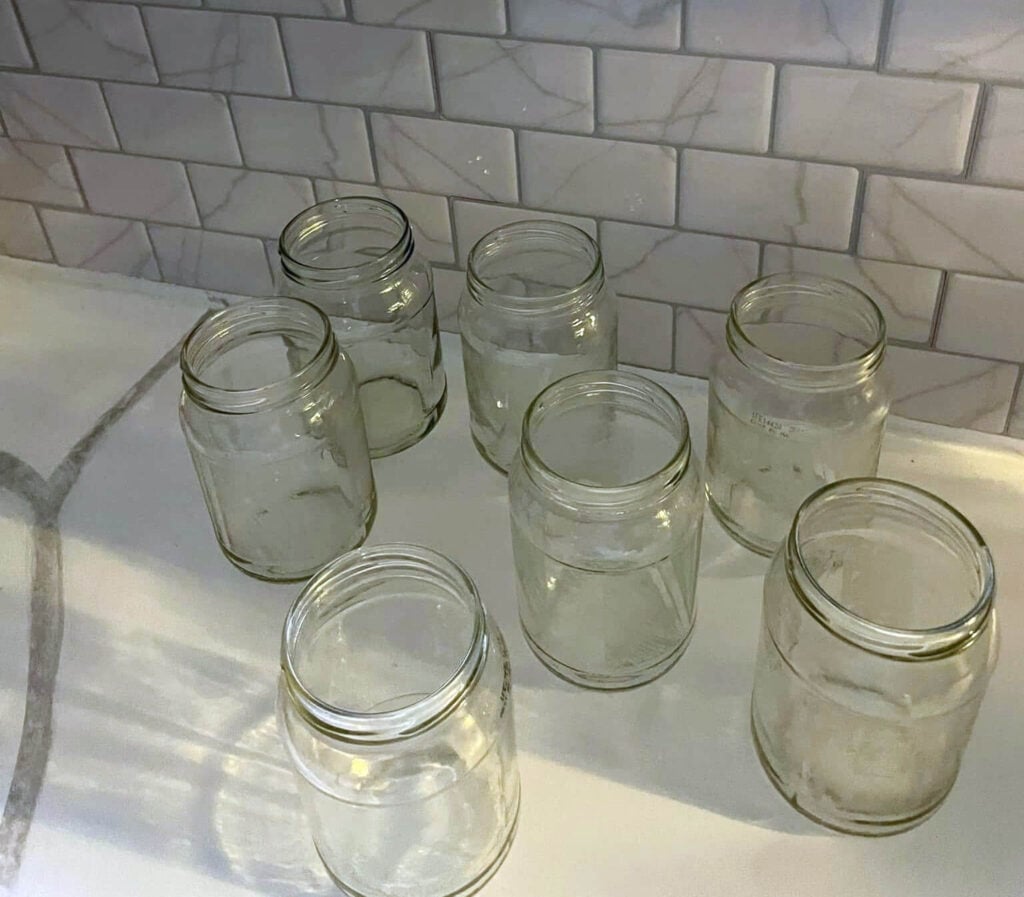
No dirt under your nails, no pesky gnats buzzing around the potting soil, just a few cuttings in a jar of water, and you’ve got a mini indoor herb garden.
I often line up jars on my windowsill, but let me share my top 10 herbs you can grow with just water, along with some personal tips.
1. Mint (Peppermint & Spearmint)
Mint might just be the easiest herb ever. I’m convinced it could grow in a puddle on the sidewalk if it had to.
I started with peppermint for my teas and mojitos (hey, balance in life!), and then added spearmint because I love its sweet flavor.
If you’re a newbie, start with Mint, you really can’t mess it up. Cut a few stems (about 5 inches long) from an existing mint plant.
Strip off the leaves from the bottom inch or two so they don’t sit in the water. Then just put those cuttings in a jar of water.
Mint grows roots within days, and honestly, I’ve had some start showing roots in under a week.
Before long, the roots will fill the jar, and I’ve kept mint cuttings going for months in nothing but water.
Just remember to clip off any flower buds that appear, because once mint starts flowering, it’s like it thinks its job is done, snip those off to encourage more leafy growth.
2. Oregano
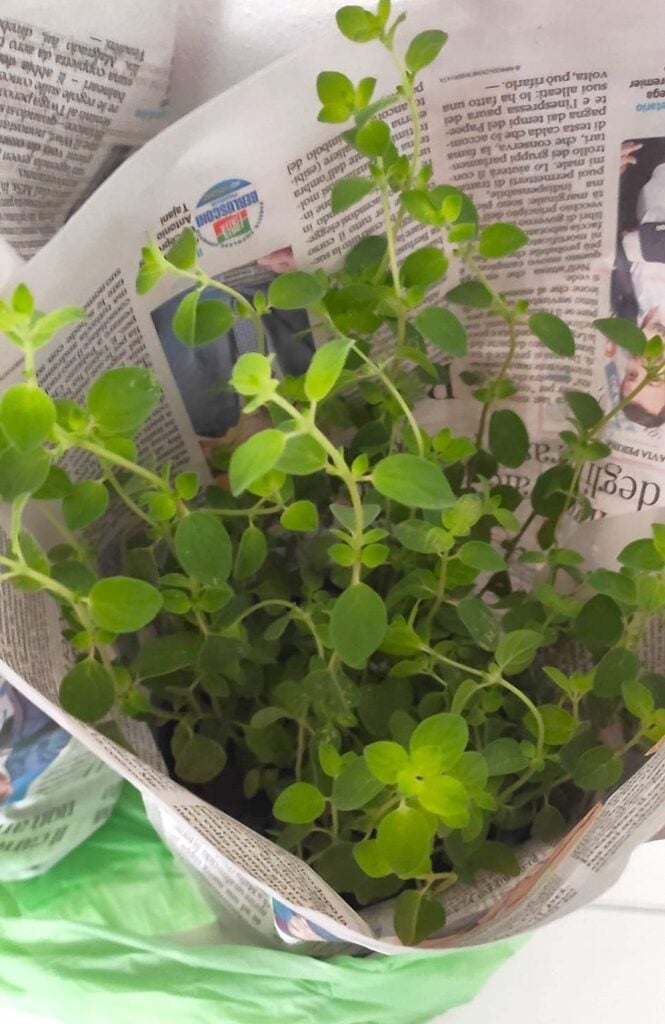
Having fresh oregano on hand is a must for me. It has a robust, savory flavor that dried oregano just can’t match.
Also, fun fact: I’m growing two types, a Greek oregano and even a Syrian oregano that a friend gave me (it’s used to make a spice mix called za’atar, which I’m obsessed with).
Oregano has somewhat woody stems, especially as it matures, but don’t let that deter you. Snip a 5-6 inch green, non-flowering stem (younger, softer stems root faster than really woody ones).
Remove the lower leaves and stick the stem in water. It might take a few weeks, but you’ll see roots forming.
In my case, the Greek oregano cutting took about three weeks to show roots, while a more tender Syrian oregano cutting rooted a bit quicker.
Oregano’s woody stems can actually last for a few months in water even before rooting, kind of just chilling there until they decide to sprout.
A thing that I want to underline is that timing matters. If you take cuttings in the early summer when the plant is really growing, they tend to root faster.
If it’s late fall, it will take longer, but either way, once it’s going, you’ll have that lovely earthy oregano flavor at your fingertips.
3. Thyme
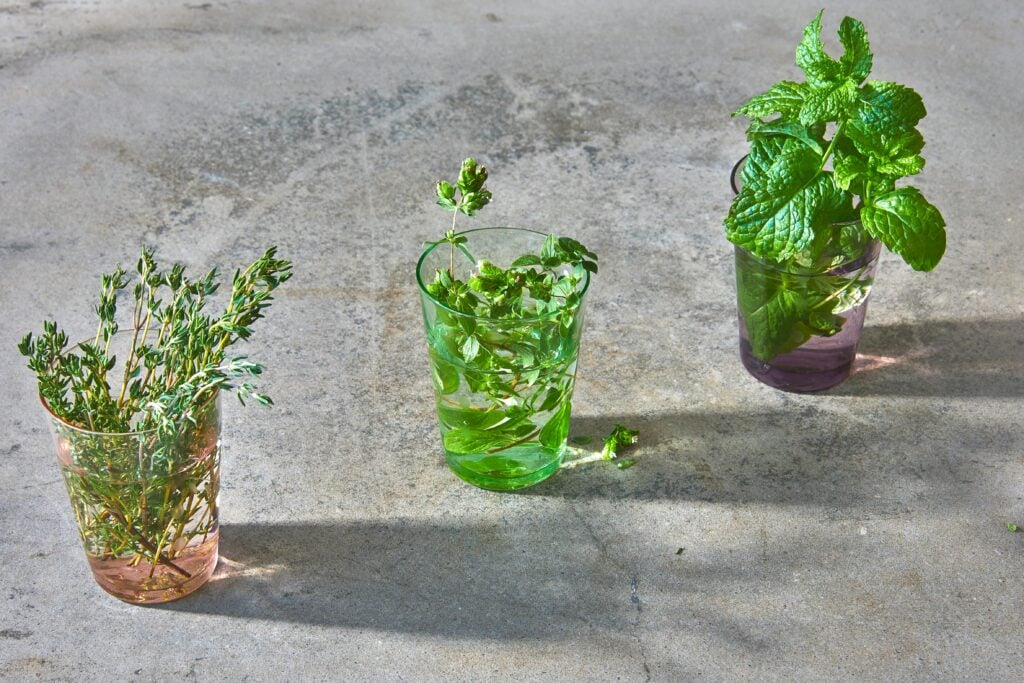
Oh, thyme…tiny but mighty. Those little sprigs pack a lot of aroma. I usually toss it into soups, stews, and roasted veggies.
My thyme plant outside tends to go dormant in winter, so I started keeping cuttings in water indoors to have a year-round supply.
Thyme has very small leaves and a more delicate stem compared to something like rosemary, but you can still root it in water with a bit of patience.
I usually snip a 6-inch sprig of thyme (lemon thyme and English thyme are two that I’ve had luck with). Strip off the leaves on the bottom part that will be submerged.
Pop the stem in water, and then here’s where you practice patience: it can take around a month or so for thyme cuttings to sprout roots.
I know, that’s way longer than mint or other herbs, but trust me, it’s worth the wait.
I kept checking one batch of thyme cuttings and was about to give up when I finally noticed tiny roots at the base after several weeks.
Once rooted, thyme sprigs can actually live happily in water for a long time (I’ve had some last multiple months). They don’t grow like crazy, but they stay green and fresh, and I just snip off what I need for cooking.
4. Rosemary

Rosemary might be my favorite scent in the world. One gentle rub on a rosemary leaf and your fingers smell like a Mediterranean garden that reminds me of home.
I keep rosemary around to toss into roasted potatoes, breads, and marinades.
Growing it in water was something I honestly wasn’t sure would work at first (rosemary is a bit woodier and seems stubborn), but I gave it a shot and now I have a jar with a thriving rosemary cutting that I snip from.
As I was saying, sosemary is a woody herb, meaning its stems get bark-like as they age.
For water growing, try to get a green, soft stem cutting (new growth) if you can. Those tend to root more easily than the really old woody stems.
I usually take a 6-inch cutting from a branch tip, strip the lower leaves (so only a few leaves remain at the top), and put it in water.
Now, rosemary will test your patience a bit: expect to wait around 4 to 6 weeks before you see roots.
During this period, keep the water fresh and put the jar in a sunny spot. Once it rooted, I actually kept my rosemary in water for several months, just harvesting little sprigs as needed for cooking.
It stayed green, but if you ever want it to grow into a bigger plant, you can transfer a rooted cutting to a pot of soil.
5. Sage
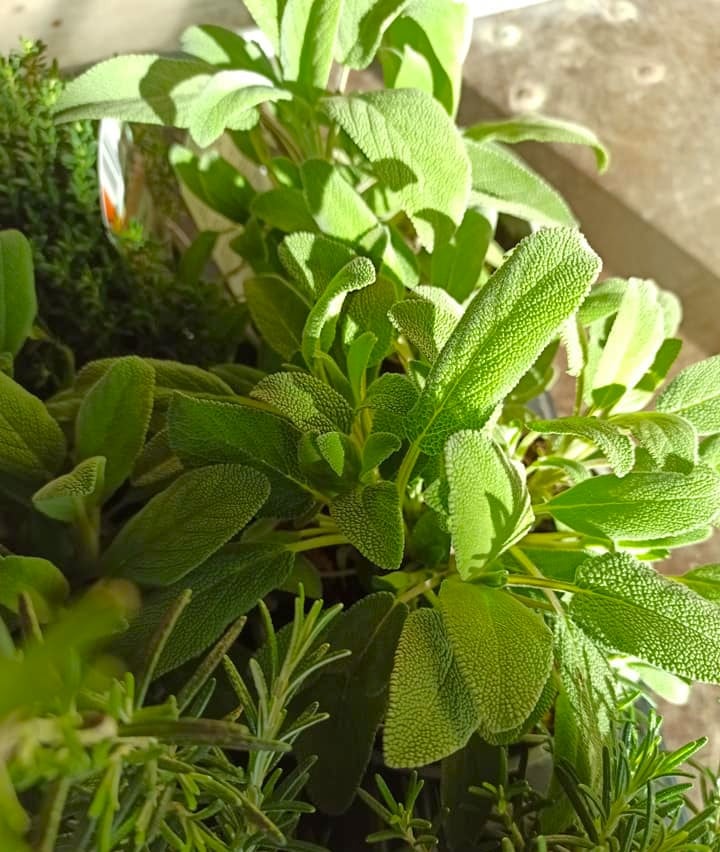
Have you heard about the fun tradition of burning sage bundles to “clear bad energy”?
I’m not sure how effective that is on evil spirits, but I do know I love having sage around for culinary uses.
Sage plants in soil get pretty big, so I was curious if a cutting could live in water. Turns out it can, even though a bit slower than some herbs.
To propagate sage in water, cut a 4-6 inch soft stem and strip off the bottom leaves so they won’t sit in water.
Plunk the cutting in a jar of water and place it where it can get good light (a sunny windowsill is perfect).
Now, be prepared to wait a while; sage doesn’t sprout roots overnight. In my case, it took roughly a month or two for roots to appear on my sage cutting.
I also noticed that it keeps growing steadily in water. I top off the water and completely change it weekly to keep things fresh (sage seems a bit prone to slimy stems if you neglect water changes).
6. Parsley
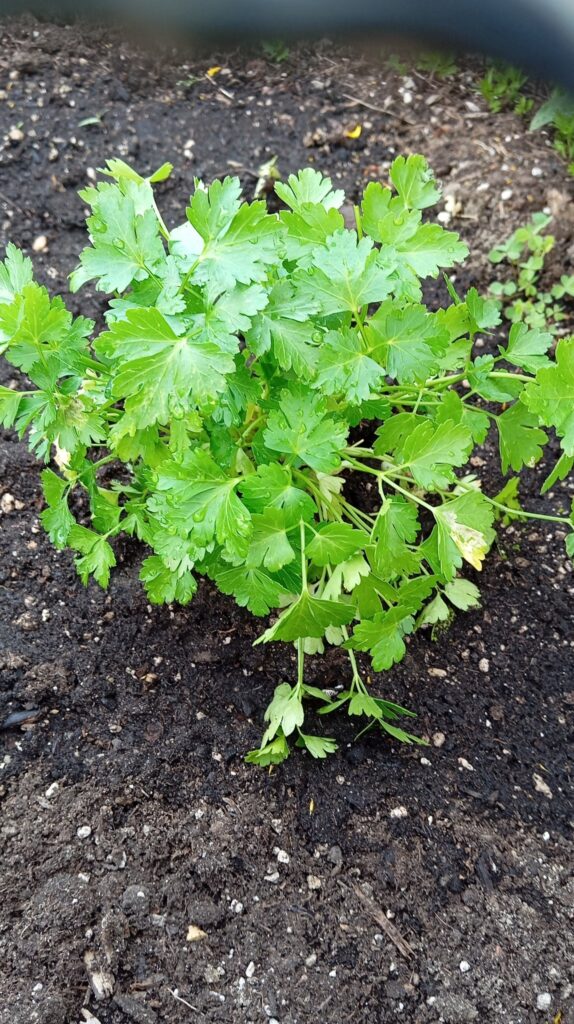
Poor parsley is often underrated. I must admit that I have often treated it as a garnish in dishes.
I’ve never had one, but my grandmother had one big plant in her garden. So after summer, I decided to experiment with keeping parsley in water. The verdict: it works, although some types of parsley handle it better than others.
There are mainly two kinds of parsley you’ll find: curly parsley (the frilly one that often decorates your dinner plate) and Italian flat-leaf parsley (favored by chefs for its stronger flavor).
I’ve tried with the second one, but my advice is to go with curly parsley for water-growing, if possible.
Curly parsley has sturdier stems that stay crisp longer in water, easily lasting a month or more and remaining flavorful.
Flat-leaf parsley, on the other hand, tended to get wilted and sad after a few weeks or so in the jar. It was like it missed the soil too much.
Both drink up a lot, so keep an eye on the water level. In addition, parsley can also be grown in buckets using a very convenient method that I explained in this article.
7. Lemongrass
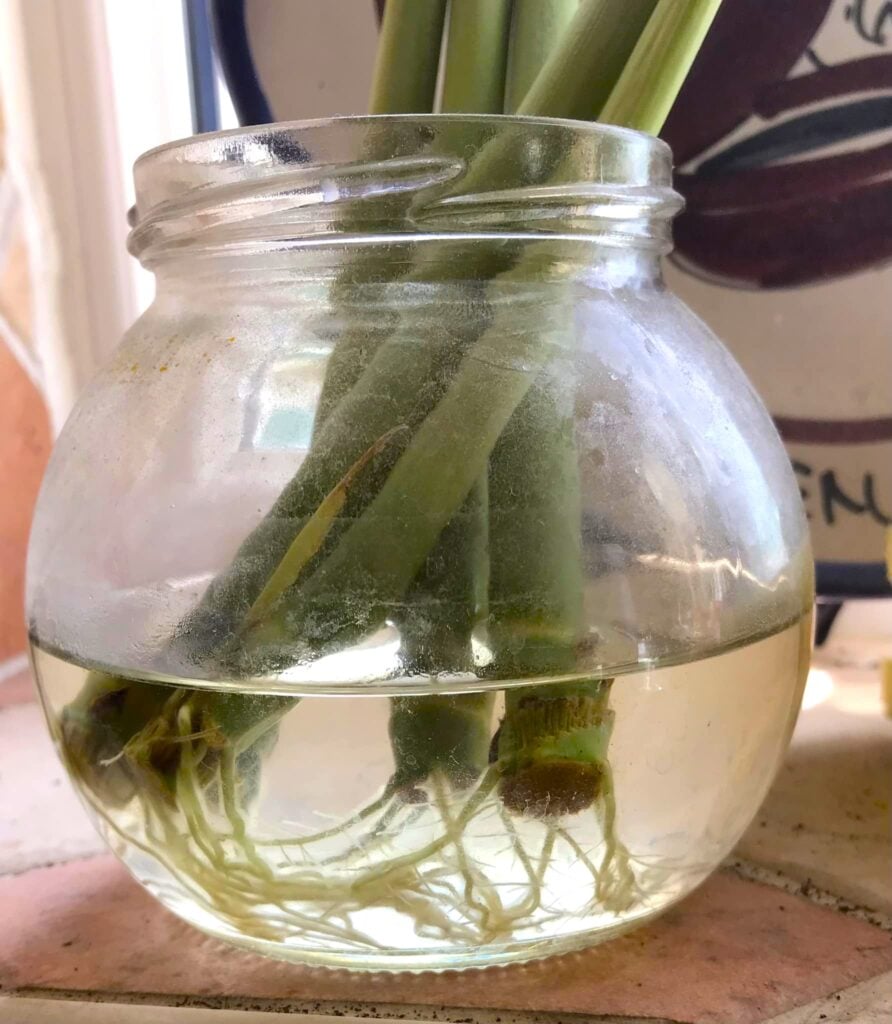
I’m not a big fan of Lemongrass. I don’t really use it for cooking; I only use it to make a lovely tea when I need to relax.
But you can definitely grow lemongrass in water indoors during the cold months.
If you can find fresh lemongrass stalks at a grocery store or Asian market, you’re in luck. Choose a stalk with a bit of the bulbous white end intact (sometimes you even see tiny roots on it).
Use that as your “cutting.” Take a stalk, maybe trim the top if it’s very long (so it fits nicely in a jar), and put it in a container with a few inches of water covering the root end.
Lemongrass roots pretty quickly, and you should see new roots emerging from the bottom.
Over time, those roots will get quite extensive and will ensure that your lemongrass cuttings can live in water for many months.
You can literally have a lemongrass stalk in water all winter long, and it can even sprout a few new leaf blades.
Just make sure to change the water every week or so because lemongrass water can get a bit funky if neglected.
Also, it loves light, so a bright spot near a window is ideal. If you live in an area with little sunlight, I recommend taking a look at the article on herbs that grow well even in shady gardens.
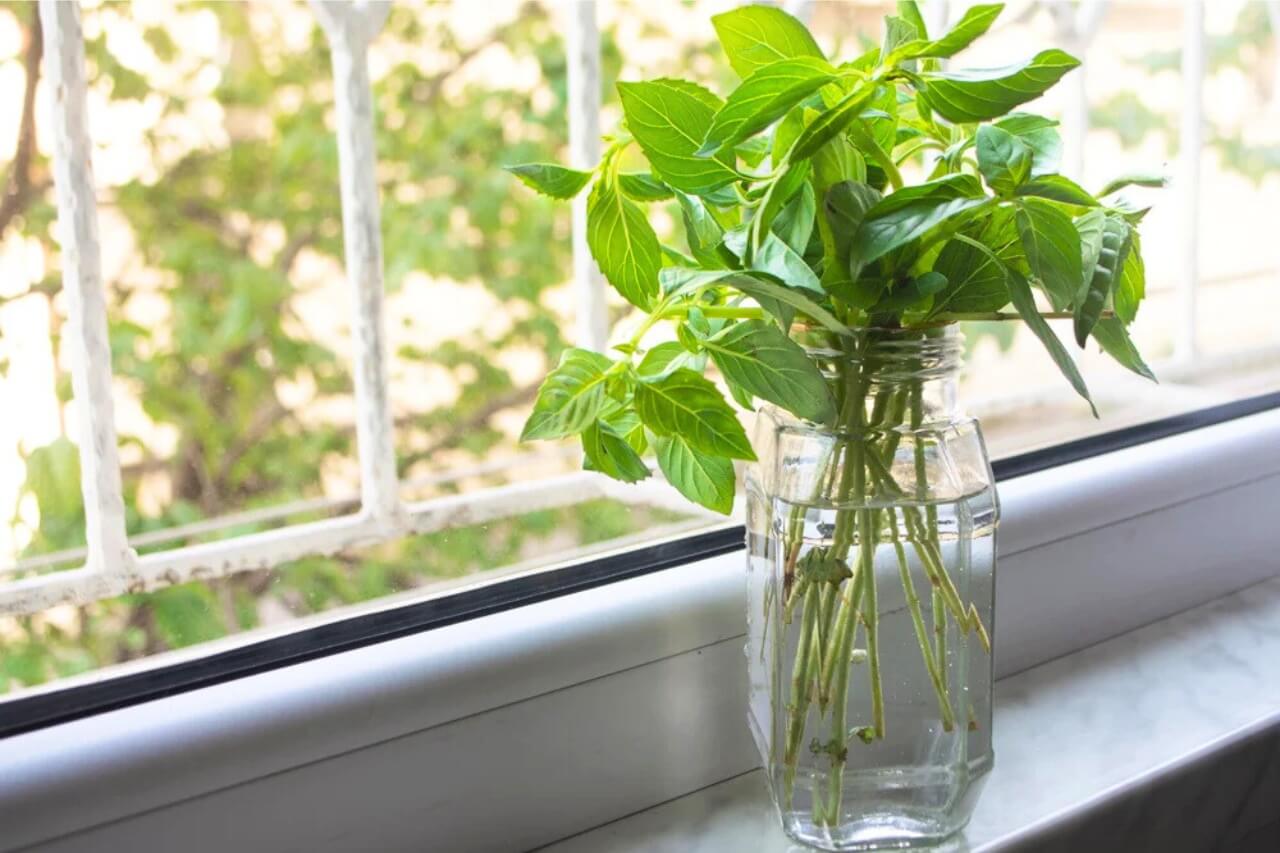
8. Basil
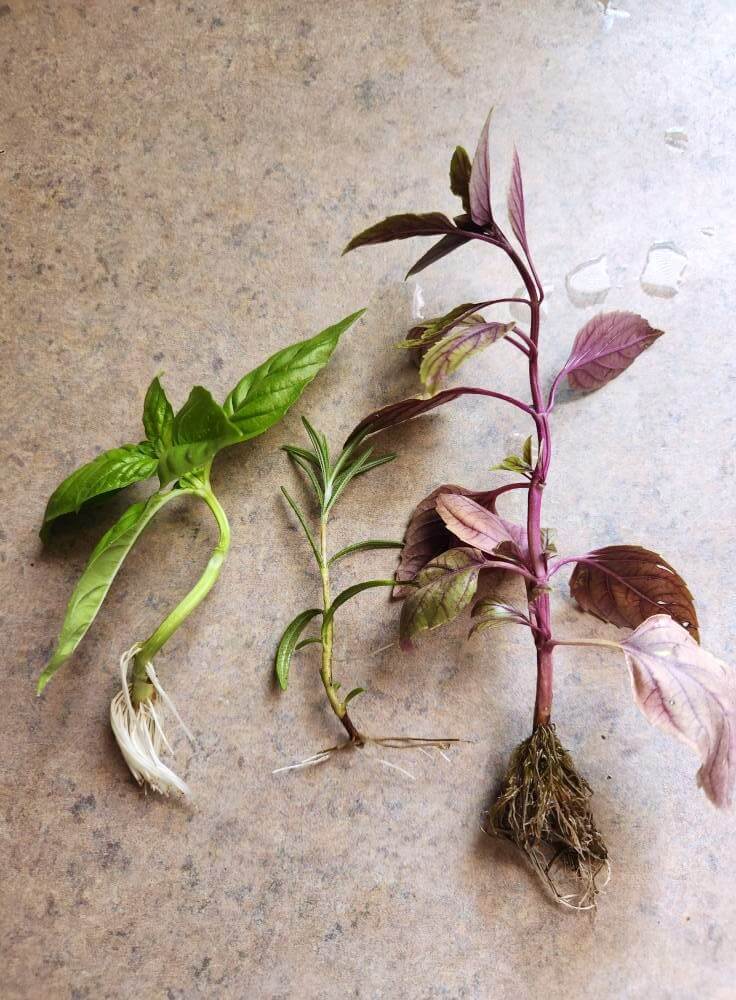
I’m Italian, so basil is basically the king of my kitchen. I use it in everything from pasta sauce to homemade pesto.
Every summer, I end up with more basil than I know what to do with, so I started rooting cuttings in water in winter, and it was a game-changer.
Just snip a 4-6 inch stem of basil (preferably before it flowers) and plop it in a jar of water.
In my experience, basil sprouts little white roots in about 2 to 3 weeks. I remember being ridiculously excited the first time I saw those roots.
Just remember that basil does appreciate plenty of sunlight, so place it near a sunny window or even a grow light in winter.
Keep the water topped off and fresh (I change it about once a week), and you’ll have a happy basil plant. In addition have a look at how to grow a never-ending supply of basil.
PRO GARDENER: I often keep a couple of varieties going, Genovese for that classic Italian flavor and Thai basil for a spicy kick.
9. Stevia
I don’t know if you’ve ever heard of stevia. It’s often called the “sweet leaf” because the leaves taste sugary sweet, and you can use it to sweeten teas and lemonades.
I know it’s a more niche herb compared to the big culinary ones, but I thought it’d be fun to try growing it in water.
Stevia is actually a tender herb (usually grown in warm seasons), and it has green soft stems. To propagate it, take a cutting from a healthy and actively growing stem.
As we’ve seen with most of the herbs in this list, make sure it’s a newer soft branch, not an old woody one, because the fresh shoots root best.
After snipping, put that cutting in water immediately because stevia can be a bit finicky about drying out, so don’t leave the cutting lying on the counter too long.
After placing it in the jar with water, give it some warmth and bright light since this plant loves sunshine and cozy temperatures.
Stevia isn’t as fast as mint, but it doesn’t take forever either. In about 2-3 weeks, you should see some decent roots forming.
One thing I really want to stress is that stevia really enjoys warmth and ample sunlight to flourish, so if it’s kept too cold or dim, it might sulk or rot.
You can also add a tiny drop of all-purpose plant food once a month since stevia likes some nutrients.
10. Lemon Balm
Lemon balm is like the friendly cousin of mint, they’re in the same family, and lemon balm has that similar easy-going growth, but with a bright lemony scent.
I love it because if you brush against lemon balm leaves, they release a sweet lemon fragrance that instantly lifts my mood.
I use the leaves in teas (very calming before bedtime), and I’ve even chopped a few leaves into fruit salads for a zesty twist.
Growing lemon balm in water is very similar to growing mint in water, given their family ties.
Take a nice 4-6 inch cutting from a lemon balm plant (if you don’t have one, maybe a friend does, or you can sometimes find lemon balm at plant nurseries).
As always, remove the lower leaves so none are submerged, and place the cutting in a jar of water and keep it in a warm spot with indirect light.
I’ve found lemon balm prefers bright light but not scorching direct sun, especially when it’s rooting.
Now, be a little patient. For me, it was around the 3-week mark when I noticed roots forming, and the cuttings had lasted for many months in water just like my mint ones.
One thing to watch: lemon balm can grow vigorously. If it starts getting too bushy or the roots get tangled, don’t hesitate to trim it back a bit..
Also, change the water regularly (about once a week) because like mint, lemon balm can get that algae/slime in the jar if ignored.