I love sweet potatoes and of course I love planting them in my garden. They are delicious, versatile, highly nutritious, and surprisingly, they are also incredibly straightforward to cultivate.
If you don’t know, sweet potatoes are native to Africa and Asia and belong to the morning glory family (Ipomoea batata), and they come in two most common forms: ornamental and edible. I will focus on the edible variant in this article because it is the one I grow most often, and obviously also because I like to eat them.
One of the most common myths about sweet potatoes is that these delicious tubers spread rather vigorously, so you need plenty of ground space. But that’s not the case at all. Using only containers and pots, you can still cultivate sweet potatoes in the comfort of your home. If I could do it, so can you!
Before You Grow Sweet Potatoes
Before looking for sweet potato “slips” to plant, you should know that these root vegetables prefer a sunny climate. They don’t tolerate cold as well as other tubers, so you may want to time your planting.
If you live in a warmer region, the best time to plant sweet potatoes is three to four weeks after the last spring frost date. This is after the ground has thawed and nighttime temperatures are above 55°F.
For those in colder areas with shorter growing seasons, you may cultivate your sweet potato indoors six to eight weeks before relocating them outdoors.
Cultivating Sweet Potatoes in Containers
Growing sweet potatoes generally takes between 90 and 170 days, depending on the variety. Here’s how you can cultivate them using only containers.
Step 1: Preparing Your Tuber Slips
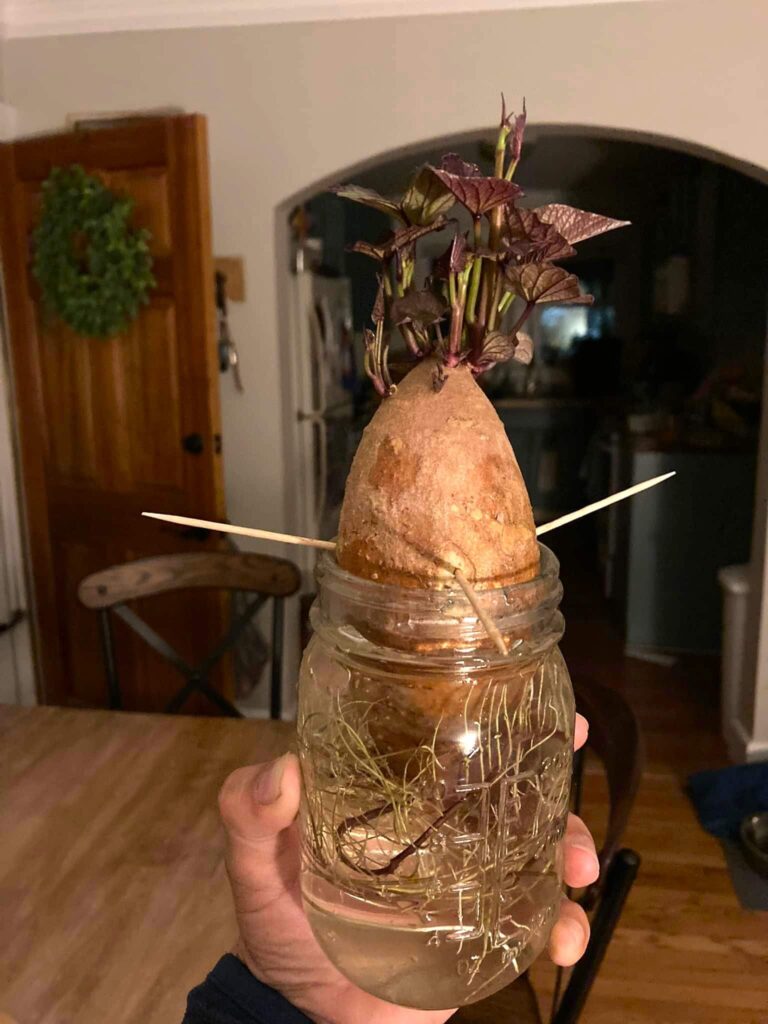
Find a sweet potato root (the edible part) big enough to fit inside a glass jar. You can also cut larger pieces to fit your container.
Locate the middle part of the tuberous root and drive three to five toothpicks horizontally around it. Space them evenly to hold the root upright (pointed end facing down) with the toothpicks resting on the edge of the jar.
Add water to the jar to submerge half of the tuber root. Place the jar in a sunny area in your home, changing the water every two to three days. It can take several weeks to a month for slips to sprout.
Step 2: Harvesting the Slips
Once the slips start growing leaves, you can separate them from the tuber root to prepare them for planting. These slips may already have tiny roots around their stems.
Lay the slips on a flat container or dish with their lower stems submerged in shallow water. This should encourage more root growth, ensuring the slips survive when planted in the soil. After that, allow the roots to grow one inch or longer before planting them in the soil.
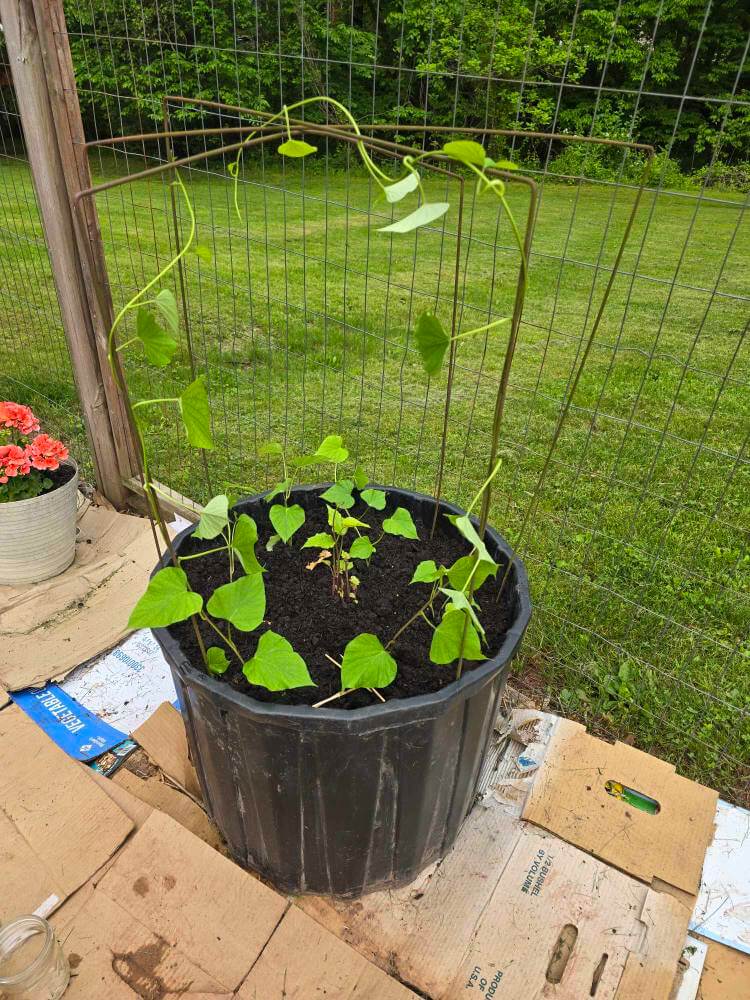
Step 3: Picking a Suitable Container
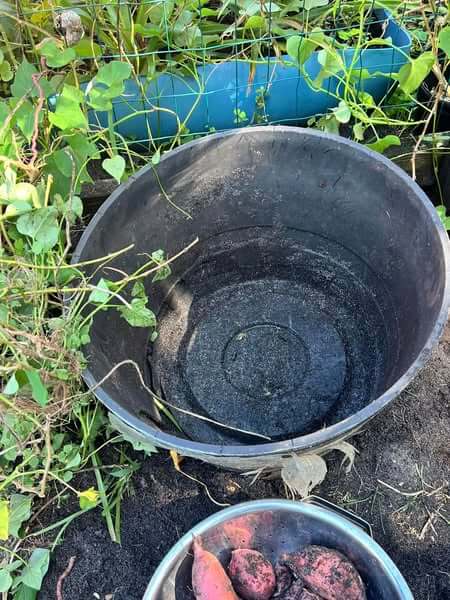
Using a suitable container that provides great soil aeration and drainage is crucial for your sweet potatoes to thrive.
In this case, fabric grow bags are a great option. It’s even better if you could find specific potato growing bags, as they often have an opening underneath that lets you safely monitor the plant’s growth.
Keep in mind that with sweet potatoes, the larger the container, the more harvest you can expect, so don’t hesitate to use spacious pots!
Step 4: Choosing the Right Soil
Sweet potatoes are somewhat picky with their soil. The first time I tried, I had chosen the wrong soil and had a very poor harvest.
The trick is to choose a well-draining potting mix, as these plants love to remain moist without being flooded. Amending the potting mix with compost and sand is also ideal.
Avoid using garden soils at all costs. Garden soils are too dense and heavy for the tuber to grow properly. They also typically cause drainage issues, which can encourage root rot, a very common tuber condition that degrades roots and stems.
Step 5: Relocating the Sweet Potato Pots Outdoors
As I said earlier, sweet potatoes love the sun and need at least 6 hours of direct sunlight. I have had no particular problems, being in southern Italy the climate is always quite warm.
If you live in a colder area, keep your plants in a closed space, and when you’re sure all the dangers of the winter season have passed, promptly move your pots to a well-lit area in your garden.
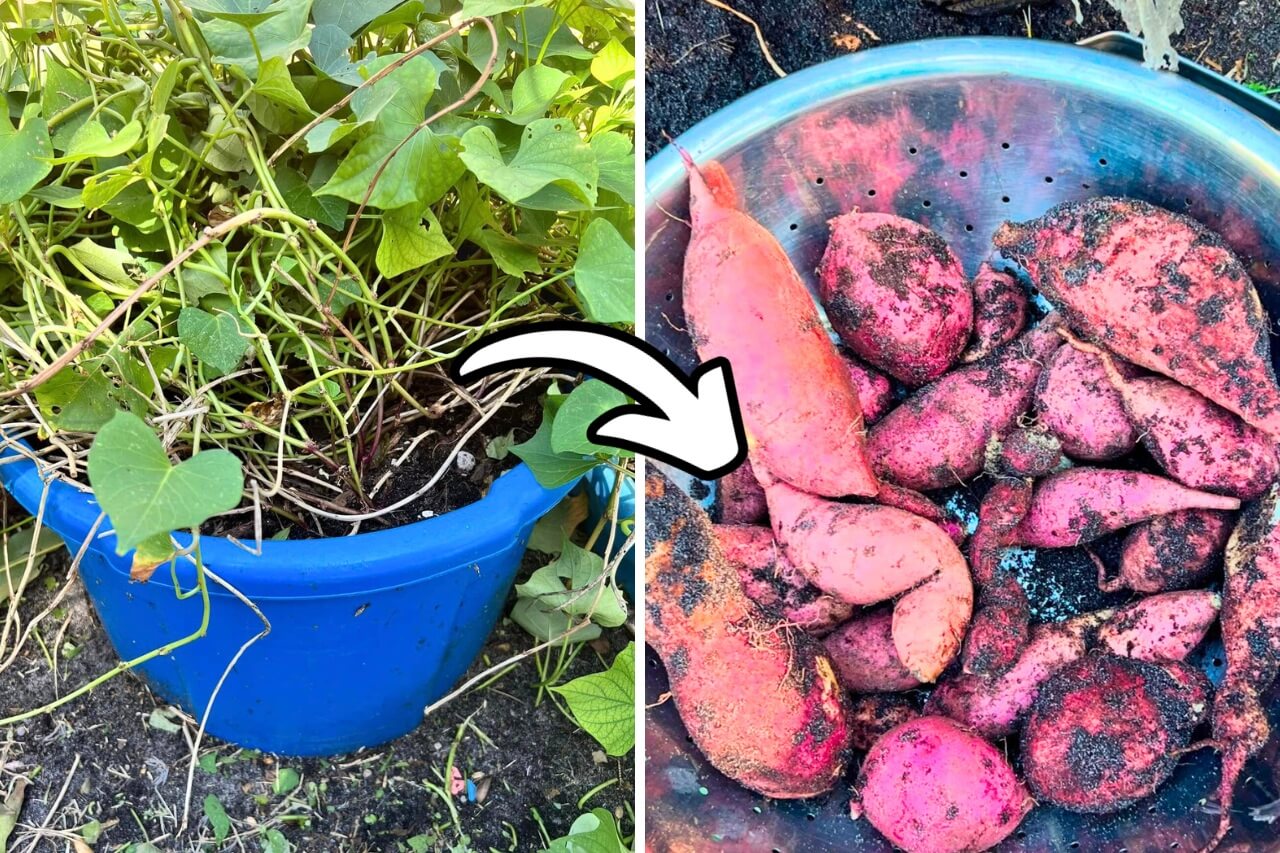
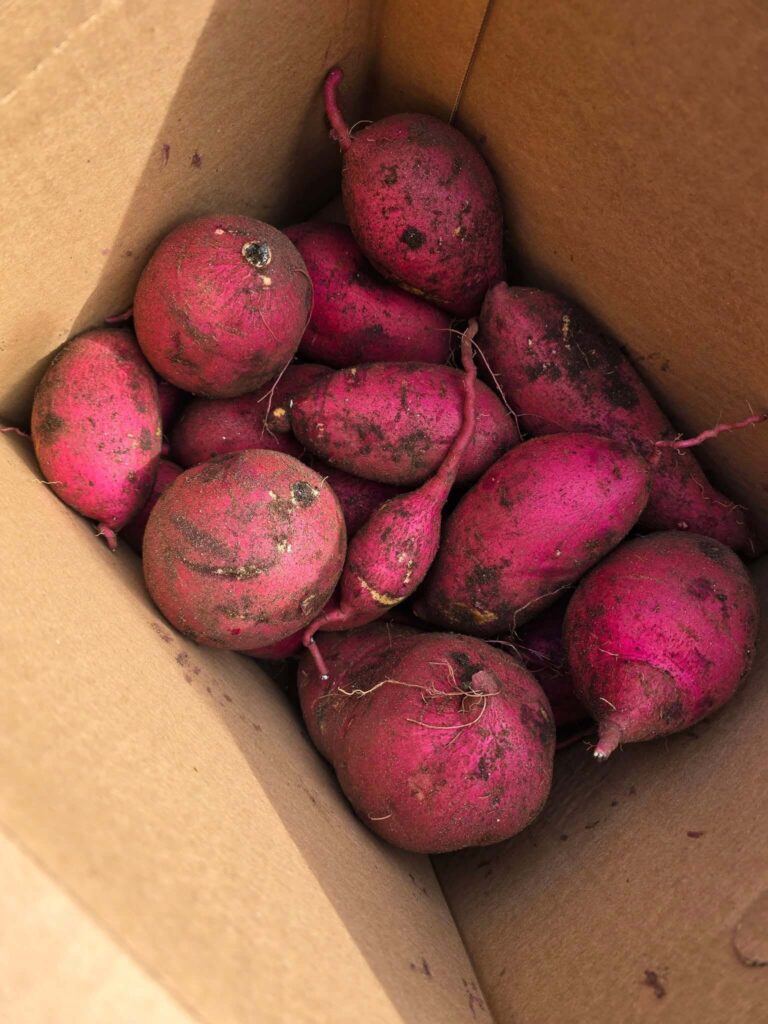
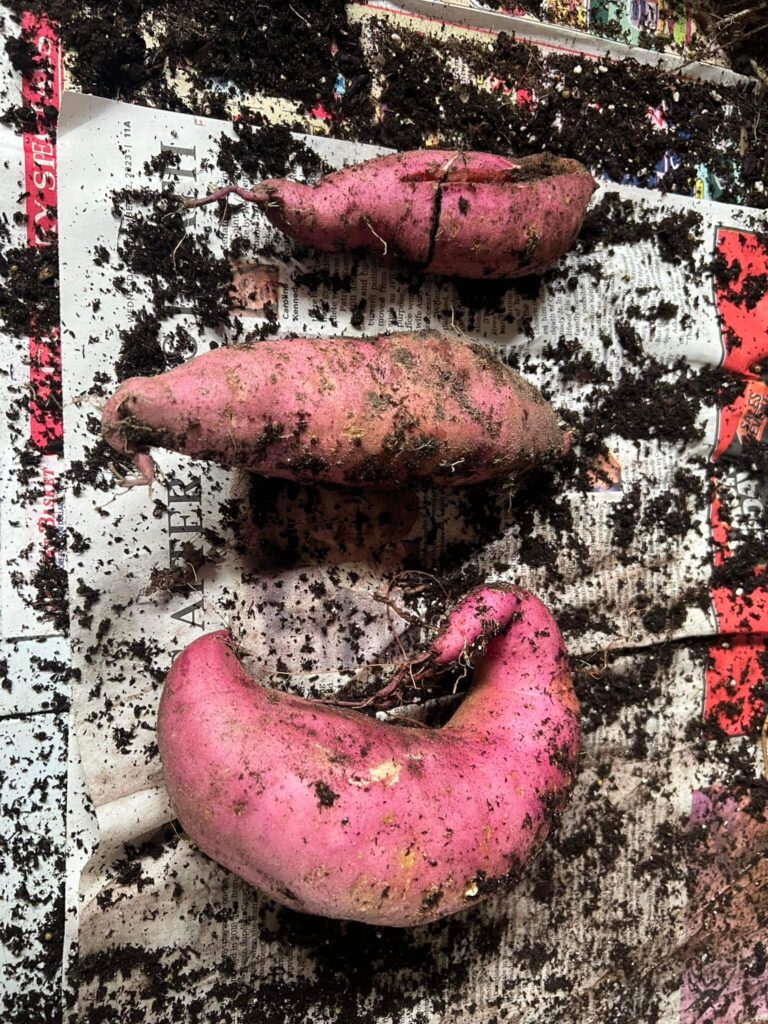
After 80 to 85 days, the edible root should be mature enough for harvesting and eating.
Once again, living with a limited space doesn’t mean you can no longer enjoy the joys of gardening. With a few simple hacks, you can enjoy fresh vegetables or plants even in very small spaces. For example, have a look at the 10 Plants That Grow Well Under Trees, they’re perfect to save space!