If you have been following me for a while, you will know that there are two things I love: growing plants from cuttings and lavender.
In today’s article, I want to combine the two, and so we are going to look at a step-by-step guide on how to grow lavender from cuttings.
The good news is that multiplying lavender by propagation is quite simple. I’ll show you a beginner-friendly method that I’ve tested many times.
We’ll walk you through everything you need to know, from the best time to take cuttings, to rooting them successfully and to transplanting them into your garden.
Best Time to Take Lavender Cuttings
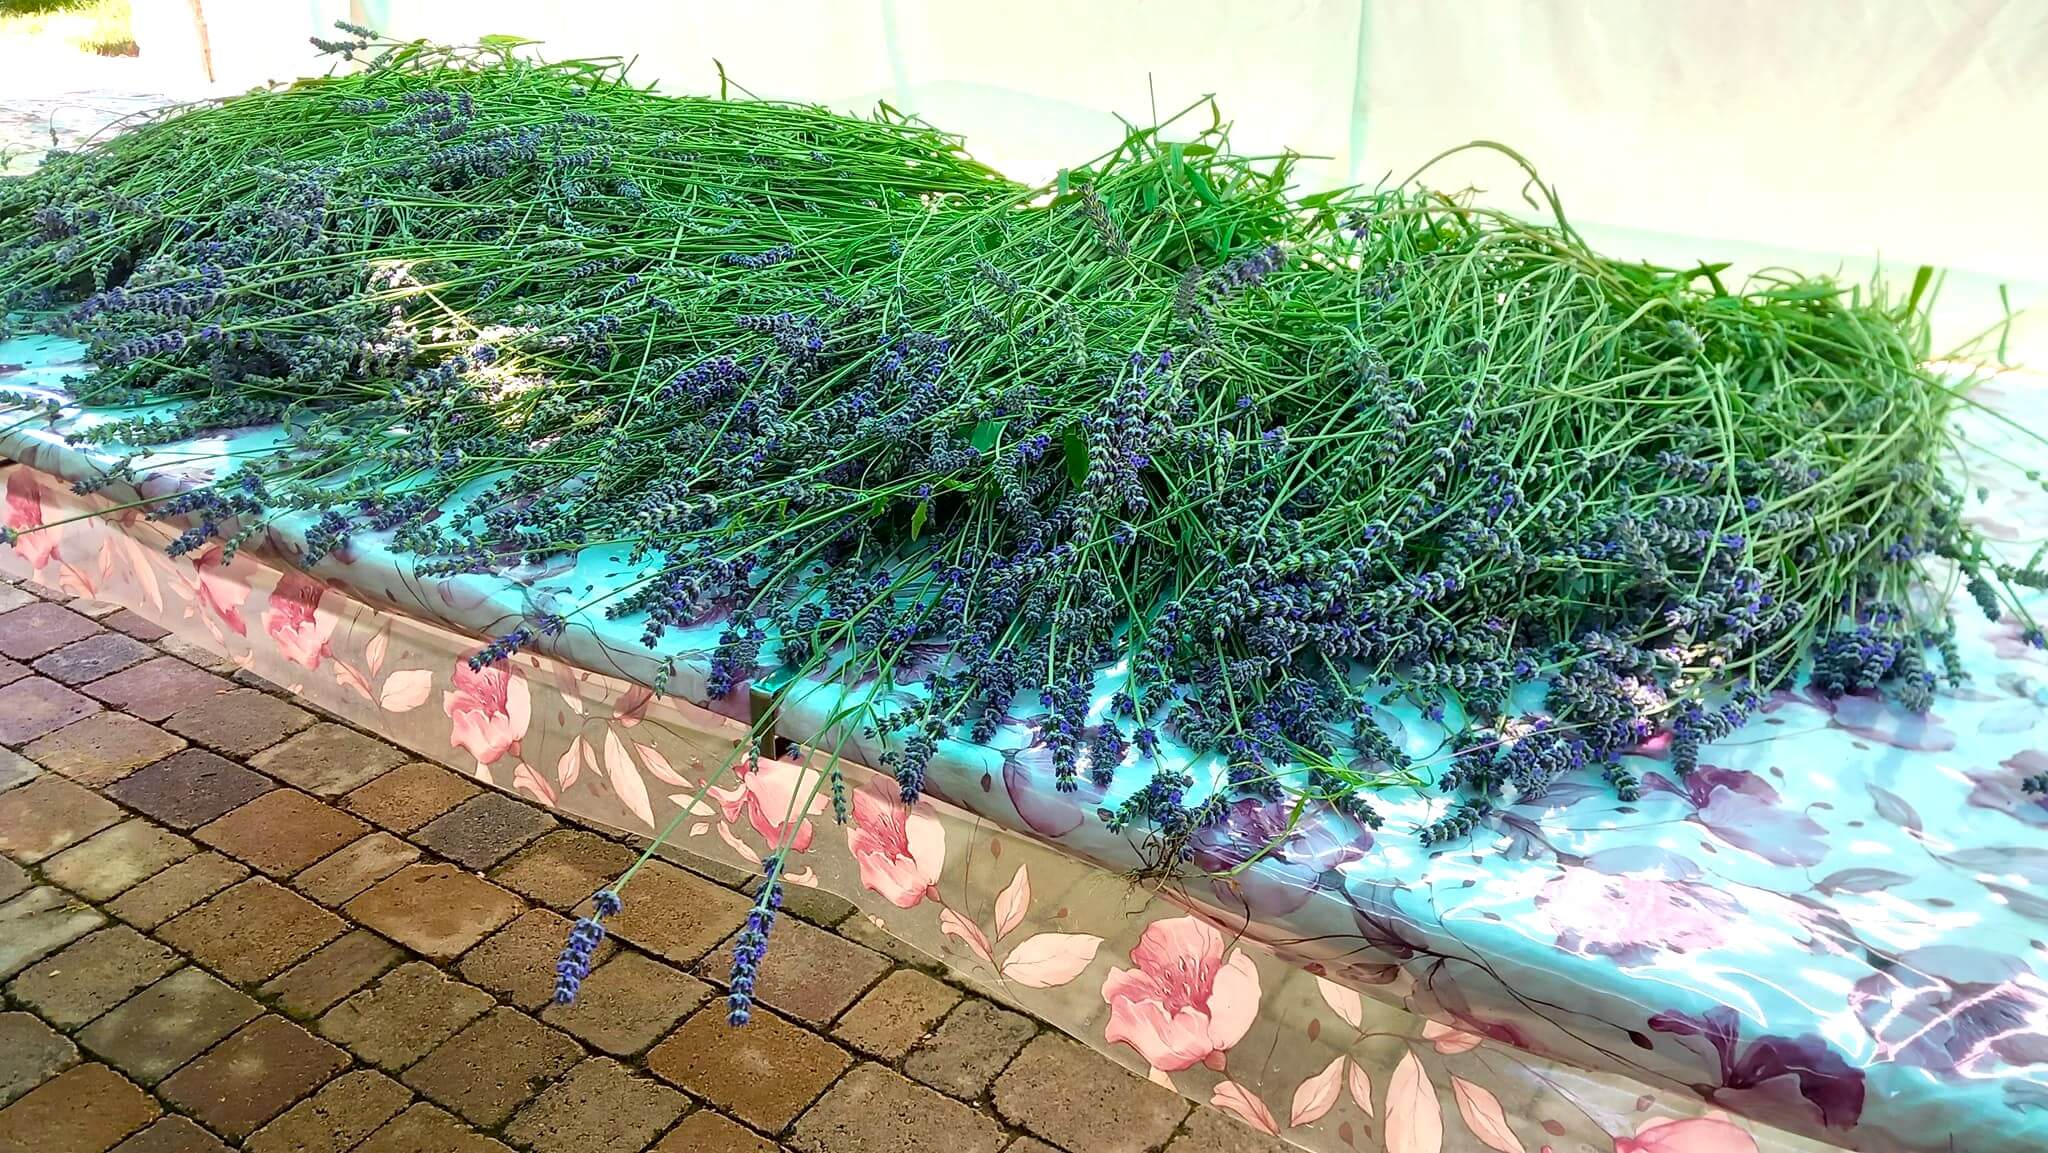
As always in gardening, timing is crucial for success. The ideal time to take lavender cuttings is generally in the warmer months when the plant is actively growing.
In many regions, that means roughly June through September, if those are the warm months in your country.
During this period, lavender has plenty of new growth and energy, making cuttings more likely to root.
However, if you’re in the Southern Hemisphere, aim for your local late spring through early fall (e.g., November through March) to replicate these conditions.
Softwood vs. Hardwood Cuttings
In late spring to early summer, you can take softwood cuttings from fresh, green growth before the plant flowers.
Softwood cuttings tend to root faster (often in 2–4 weeks), but if your lavender is already flowering or it’s later in the season, you can still take semi-hardwood or hardwood cuttings after flowering.
The latter may take longer to root (around 4–6 weeks), but both methods work, it’s just a matter of speed in seeing results.
After Bloom is Best
One piece of advice I want to give you, which my grandmother passed on to me many years ago, is to take cuttings right after the lavender has finished blooming.
At that point, the stems are mature enough but not overly woody.
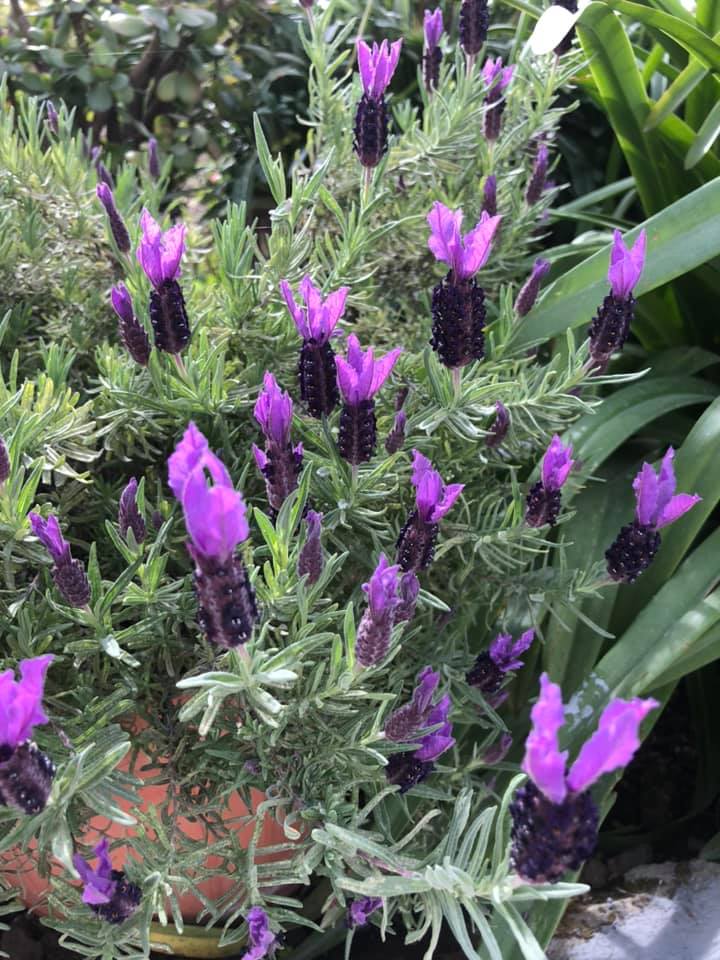
In addition, remember to always choose stems with no flower buds on them. Blooms can drain energy and reduce rooting success.
If your plant is covered in flowers, it’s wise to wait or trim off the blossoms before taking cuttings. The main idea is to direct the cutting’s energy into making roots, not flowers.
Climate Considerations
I know you read my blog from different parts of the world, so let me also give specific recommendations based on different temperatures.
If you live in a region with harsh winters (e.g. USDA Zone 5 or colder), it’s best to take cuttings by mid-summer so they can root well before cold weather.
In milder or Mediterranean climates (zones 6 and up), lavender often stays evergreen, and you might propagate nearly year-round, but even then, mid-summer is still the best spot for fastest rooting.
Also remember that lavender is among the 10 plants that reflower if you cut them at the right time.
In general, the only thing you have to avoid is taking cuttings in the depths of winter when plants are dormant because they will struggle to develop strong roots.
Lastly, no matter where you are, choose a day when the parent plant is well-hydrated and not drought-stressed. Early morning is ideal because the stems are fully turgid, which gives cuttings a better chance.
Tools and Materials You’ll Need
Now, before you start snipping away, gather the necessary tools and supplies. Having everything on hand will make the process smoother.
Here’s what you’ll need:
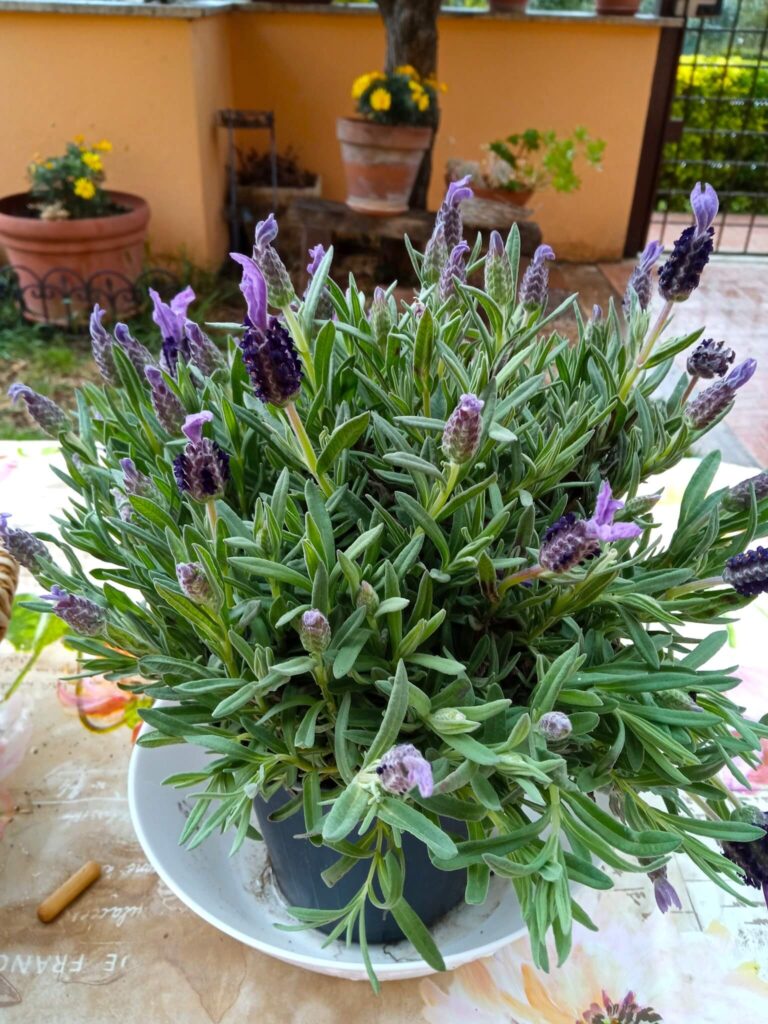
Healthy Lavender “Mother” Plant: A mature lavender plant to take cuttings from. Obviously, if you have the choice, opt for the best, so healthy, pest-free, and vigorous.
Sharp Pruners or Knife: Use clean, sharp pruning shears or a knife for taking cuttings. Avoid hands or dull tools because you’ll crush the stems.
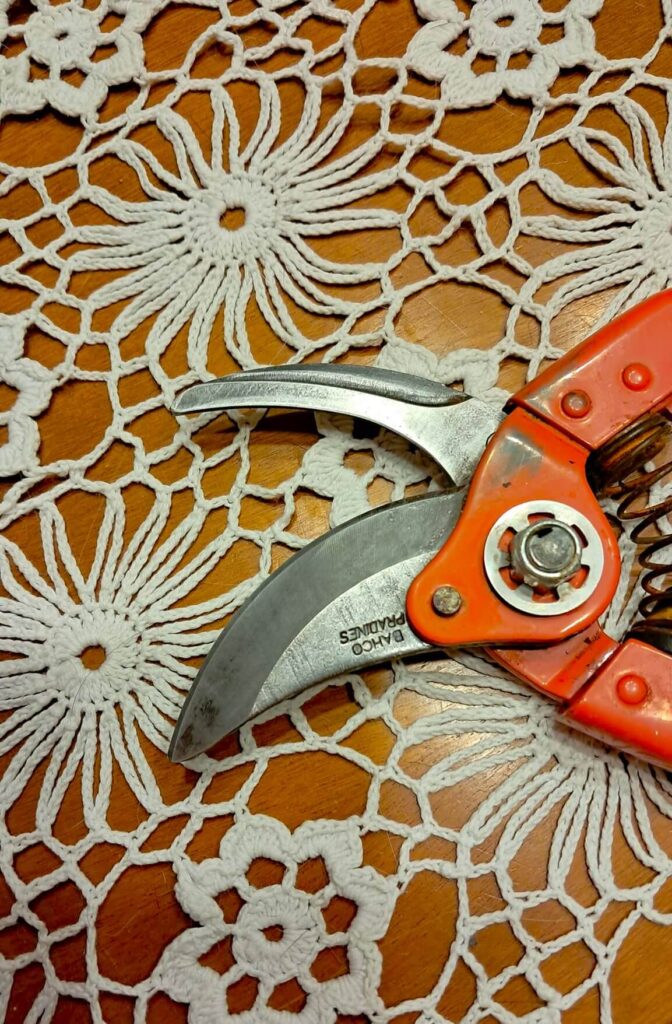
Some people think I’m crazy, but I also sanitize the blades. I wanna be 100% sure to avoid diseases between plants, so I think of it like a mini-surgery. You can easily rub alcohol or wash the pruners with soapy water before you begin.
Small Pots or Trays: Prepare small planting pots (around 3–4 inch diameter) or seedling trays. Ensure they have drainage holes. If you prefer, you can also start multiple cuttings in a single wider pot, spacing them out.
Potting Mix: Use a quality, well-draining potting mix because lavender hates soggy soil. A mix of general potting compost with added grit, sand or perlite is ideal to improve drainage.
PRO GARDENER: If your garden soil is clayey, don’t use straight sand to amend it. It’s a mistake I often see and sand plus clay can equal concrete! Instead, mix in compost to improve drainage.
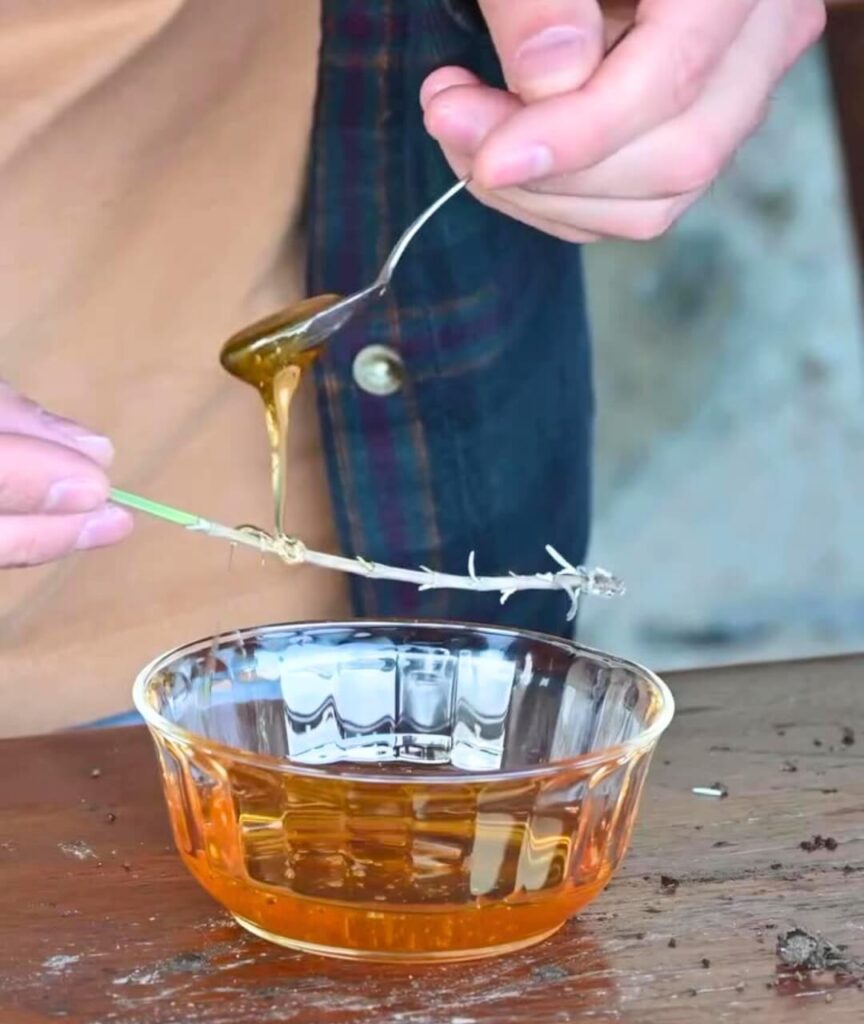
Rooting Hormone (Optional): While not strictly required, if you have a rooting hormone powder or gel, you can use it to boost success (especially for hardwood cuttings).
However, if you don’t have it and don’t plan to use it often, maybe it’s not worth buying just for this. You can use natural things like cinnamon or honey.
Clear Plastic Bags: Lastly, if you want to create a mini greenhouse effect, you can use some clear plastic bags (zip-top bags or produce bags) or a propagator dome.
These will cover the potted cuttings to lock in humidity. Alternatively, you can also use a plastic bottle cut in half.
Now that we have seen all the materials we need, let’s move on to the last part, which is the actual propagation.
Step-by-Step Propagation
As I was saying before, if possible, opt for a stem that is green and flexible, try to avoid old, fully woody stems.
The length should be about 4 to 6 inches (10–15 cm) and you should cut if just below a leaf node (the point where a leaf pair joins the stem). Nodes are important because they contain cells that can develop into roots.
Cut at a slight angle of about 45° because that increases the surface area for rooting.
Once again, it’s important that as you cut, you handle the cuttings gently and avoid crushing the stem.
After that, immediately place the cutting in the shade or a cool container to prevent wilting while you work.
Strip off the lower leaves on the bottom half of the cutting, about 2-3 inches worth of the stem. You should have a bare lower stem and a tuft of remaining leaves on top (it will look a bit like a tiny tree).
If the remaining top leaves are large, you can trim a few in half to reduce evaporation, but according to my experience, lavender’s small leaves often don’t need much trimming.
At this stage, you may dip the cut end into rooting hormone (tap off any excess powder).
Then take your small pot and fill it with the pre-moistened, free-draining potting mix prepared earlier. The mix should be damp like a wrung-out sponge, not soaking wet.
Using a pencil or a stick, poke a planting hole in the soil for each cutting (this avoids wiping off the hormone if you’ve used it).
As I’ve already said, you can put several cuttings in one pot if you space them around the edge. It’s usually ok to have 3-4 cuttings evenly spaced in a 4-inch pot.
If you prefer to use cell trays, plant one cutting per cell. Gently insert the prepared cutting into the hole deep enough that the bare stem is buried and the remaining leaves are just above the soil surface.
Then firm the soil lightly around the stem so it stands upright and ensure no leaves are touching the soil to prevent rot.
After You Plant the Cutting
After potting the cutting, give the soil a good drink of water to settle it. The mix should be evenly moist but again, not waterlogged.
Now you should try to create a humid environment so cover the pot with a clear plastic bag (you can use a support to keep it from touching the foliage) and seal it with a rubber band or tie, or place the pot in a propagator with a clear lid.
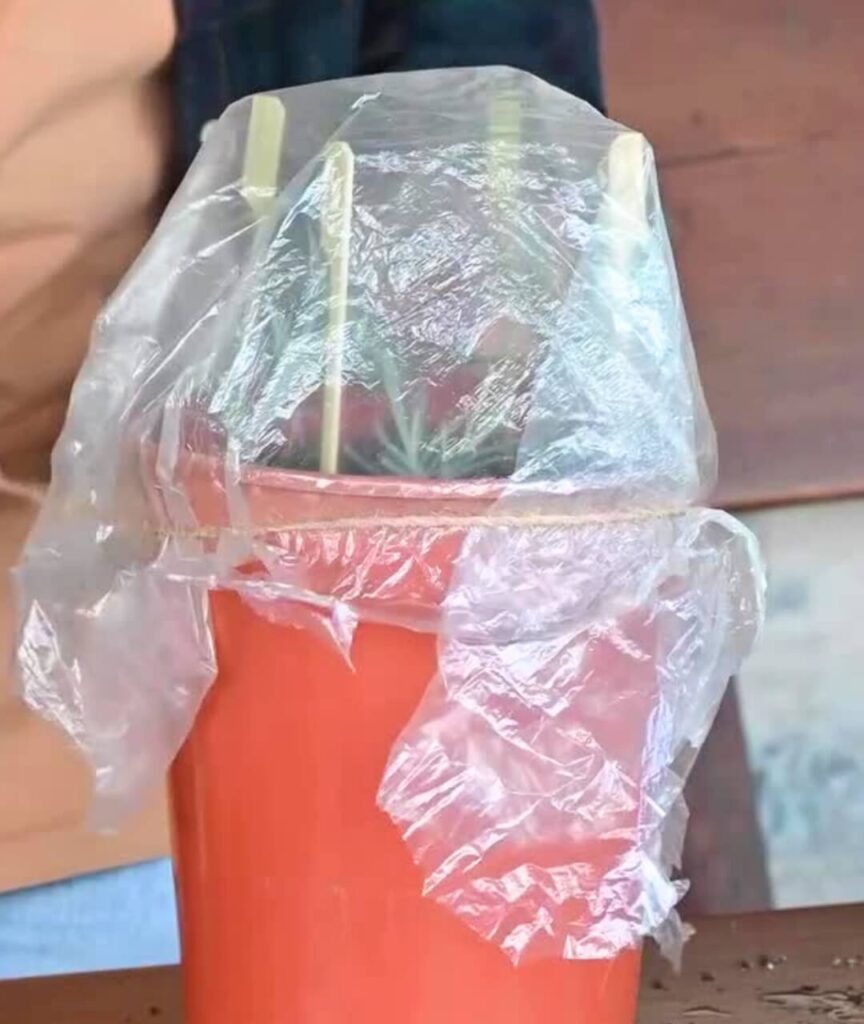
This acts as a mini-greenhouse to keep humidity high around the cutting, which helps prevent the cutting from drying out before it grows roots.
Good humidity with lavender is very important because it dries up pretty quickly. However, remember to also keep good ventilation and make sure the cover isn’t airtight.
You can cut a small slit or poke a couple of air holes in the plastic bag to allow some air exchange and prevent mold.
Another method is using an inverted clear plastic bottle with the bottom cut off to cover each cutting (remove the cap for airflow).
Provide the Right Environment
At this point, most of the work is basically completed. Just remember to place your covered cuttings in a warm, bright spot out of direct sunlight.
Bright indirect light or partial shade is ideal at first. Avoid the harsh midday sun, which could overheat the cuttings under the plastic and scorch them.
The ideal temperature is around 65–75°F or 18–24 °C. And remember to protect the cuttings from heavy rain and strong winds, which can be frequent in some regions.
Lavander is one of the tough plants that grow anywhere but obviously they are more delicate when small.
Over the next few weeks, monitor your cuttings periodically. Keep the potting mix moist but not soggy and if condensation fully fogs up your plastic cover, you can briefly open it to ventilate.
Do not tug on the cuttings to check for roots, as this can easily break emerging roots. Instead, watch for signs of growth: new leaf buds forming or resistance if you very gently nudge the cutting.
Most lavender cuttings will root in about 3 to 6 weeks under good conditions and when you notice new growth or sufficient rooting, it’s time to acclimate your baby lavender plants.
First, ventilate the humidity cover more to wean the cuttings off high moisture. For example, you can open the bag or propagator a bit more each day or cut larger holes in the plastic, and after a few days, remove the cover entirely.
At this point, the cuttings should have their own roots and be able to handle normal humidity. They will be small new lavender plants and follow these tips how to grow them.